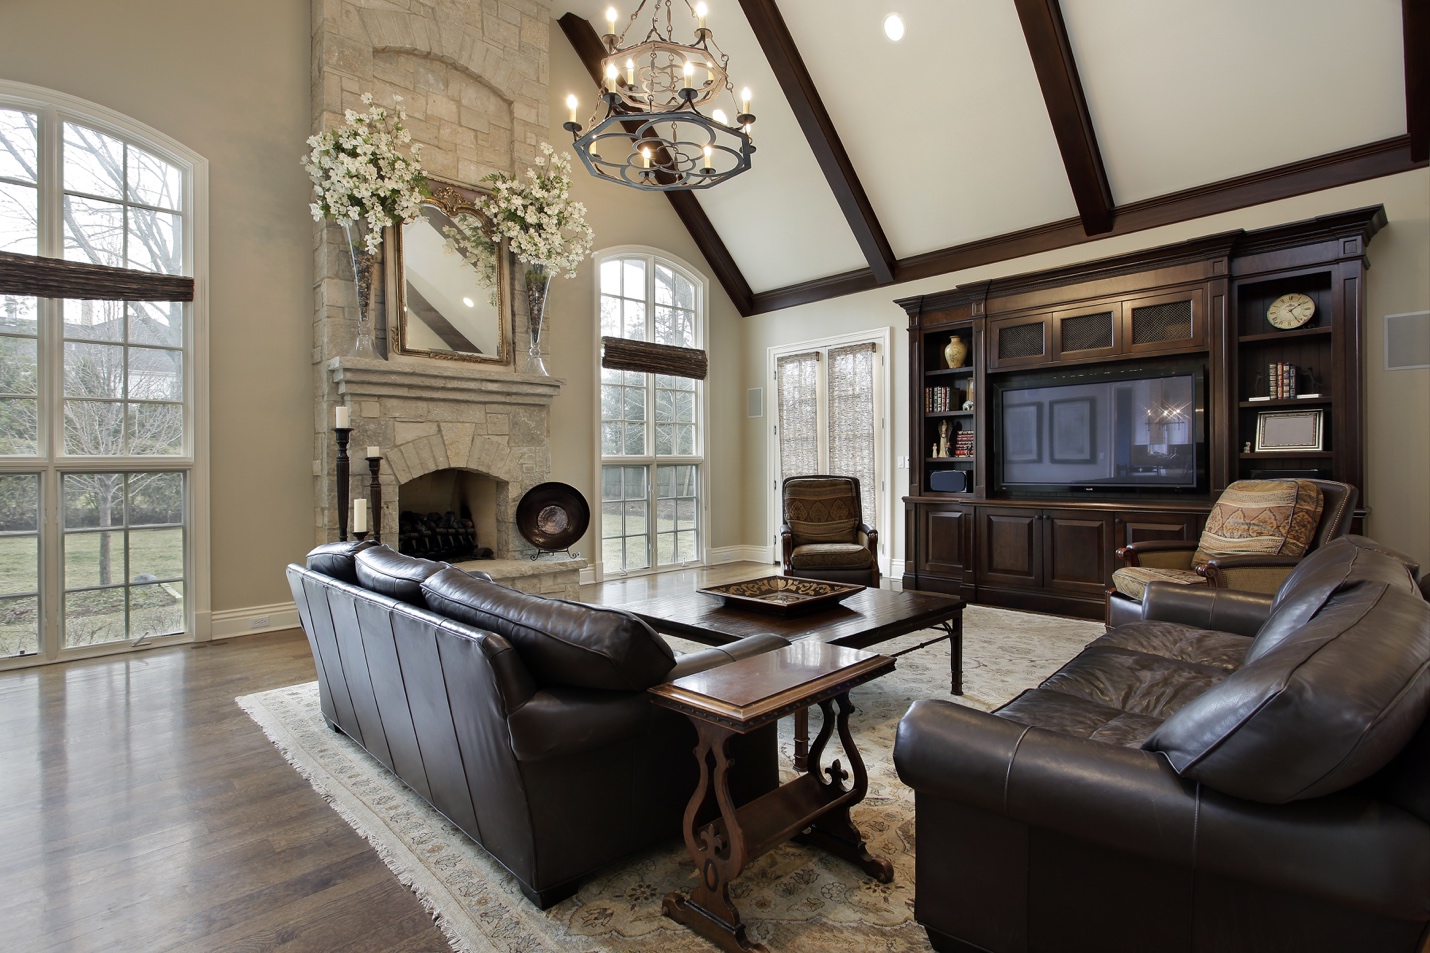
Among those life decisions we always make around New Years, is the promise that we will “fix up the house”. To many, this means affecting repairs, adding landscaping, and other more mundane tasks - but to the AV Enthusiast, this might just mean finally adding that Media Room or Home Theater you’ve been meaning to add for the last couple of years. While many are both well meaning and motivated when considering this kind of “resolution”, the project often gets stuck in the idea phase - generating a litany of discussions about “how cool its going to be” as seemingly easier tasks are accomplished during the discussions.
Well, there is no better time than the present to tackle this project and get it permanently scratched off the to do list! To this end, here is an easy to follow list of tasks you will need to accomplish to get this thing up and running in time for the next big game or the release of the next season of (insert your particular binge-watching obsession here).
Soundproofing
When you are enjoying your home theater, there will likely be times when others in your home are engaged in some other activity. Nothing is quite the momentum buster as when a loved one sticks their head in the door of the media room at “just that moment” in the big game / movie / etc and say, “Could you guys turn that down a little?”. To eliminate this problem, many rely on specialized foam sound panels to reduce the radiant sound from the room and provide better acoustics within.
However, there are other steps that should also be considered in addition to these staples of the media room. For instance, prior to affixing sound panels to the walls, consider looking at the walls themselves - or the ceiling for that matter. The first thing to look at is insulation. Sound-dampening insulation will go a long way toward requesting the sound from your home theater to those in the room. The same insulation added to the walls should be added to the ceilings. When choosing your insulation, make sure you use acoustic batts. Many major insulators make this product, and it is designed to fit snugly between the studs in your walls. This will not only prevent sound from leaving your home theater, but also prevent your perfectly tuned sound quality from being spoiled by outside noises such as dogs barking, sirens, or other sounds experienced by those outside the AV cocoon you have so carefully crafted.
Once your walls and ceiling are insulated properly, you may consider replacing the drywall with zero-sound drywall. This, when combined with the insulation may in fact eliminate the need for the addition of acoustic sound panels altogether. If so, you can decorate your walls as you normally would without being tied to the foam-covering paradigm. This is usually preferable from an aesthetic standpoint. On the other hand, if you are going for the “music studio look” in your home theater, nothing beats floor to ceiling covering of specialized acoustic foam panels. To each his own.
Wiring for Sound and Video
While you have your drywall removed ton install your insulation, confer with your technology integrator about what wiring will have to be done for both sound and video prior to finalizing the insulation process. Keep in mind during your wiring efforts that technology is moving at a blinding pace, so any in-wall wiring should be installed in such a way that it can be updated without too much effort. Consider using conduits for bundles of wire that will allow a future cable to be pulled through as the older cable is removed from the other end. More importantly, where possible, use no wires at all. There are a vast array of wireless options for sound and video now on the market that will make updating your sound and video components in the future simple and easy.
Setting Up Seating
This is one of the most important aspects of the home theater that is often overlooked. With the focus on selecting the right audio and video components, sometimes lost is the fact that people will be sitting in this room for movie-marathons, 12-episode binge-watching sessions, or at the very least 4-6 hour sporting events on a regular basis. Comfort needs to be a serious concern.
The options available are mind-numbing here and it is best to confer with your technology integrator on the latest available options. Aside from the obvious reclining options, drink-holder features, and possibly snack tray functions, options like tablet holders, reading lights, and “neck-pillows” also need to be considered. Also consider the likely makeup of your viewing group. Ensure that all potential body types are accommodated. No one likes to be “squished” when meeting for an event, and those with “slighter” frames don’t want to get swallowed by their seating. Try to have seating designed for all anticipated viewers. If you aren’t sure about viewer sizes, always err on the large side rather than the small.
It is important to get the seating set before designing the audio and video for the room so that your technology integrator can properly lay the sound out for the benefit of all in the room. If you have rows, obviously elevate each row so that no one is looking at the back of anyone’s head. If possible, stagger the seating.
Setting Up Sound and Video
Now that your seating is set, place your screen(s) in such a way that there is no “bad seat” in the house. Your technology integrator will be able to help you avoid placing your speaker sets in such a way that audio hot-spots are created. Your woofers and subwoofers are likely to be working overtime in some music and movie applications, so ensure that anything that can “vibrate” is well insulated or removed from the room.
As a general rule, the center of the screen can be placed at a distance from the floor so that the viewer’s eye-line is matched with 1/3 the screen’s height. This is a good rule, but if you have mutliple rows at differing elevations (stadium seating), the CEDIA recommendation is to ensure that no viewer has a vertical viewing angle greater than 15 degrees from the top or bottom of the screen.
The placement of the speakers is critical when it comes to the bass response. It is important that the bass response is similar from each listening position. This is difficult to accomplish, and will likely require the assistance of a professional technology integrator to properly plan. Likewise, the surround sound speakers should always be at least 4 ft away from each listener’s head. In addition, the back wall of the theater should be at least 4 ft away from the nearest seat to allow for proper envelopment.
Adding Lighting
A common mistake made when setting up the “house lights” in a home theater, is simple. Not enough light. During the feature, your lights may be dimmed, to give the true “theater” feel. This can be achieved with was sconces, recessed overhead lighting, of low-power dimmable floodlights. However, the room needs to be able to be “fully lit” between features, so some ambient lighting with “normal” brightness should be added to the theater’s accent lights. A second mistake often made in home theater’s is removing all light during the feature. This is not done in commercial movie theaters during the show. Lights are severely dimmed, but present - preventing the viewer’s pupils from dilating repeatedly which can cause disorientation during the viewing of most features. Your technology integrator will be able to help you select the appropriate lighting levels for “house lights on”, “house lights dimmed”, and “feature running” lighting programs.
How ever you set you lights - in the end, the most important thing is that you can control them from your seated position, either using remote or with voice programmed voice controls. Floor lighting might also be helpful since you and your guest viewers are likely to make trips to the kitchen or bathroom during showings.
Component Selection
Component selection is also an incredibly important factor, and the truth is, there are as many correct answers to this dilemma as their are home theater owners. It is important that you have a detailed consultation with your technology integrator to determine which components best serve your needs in the present - while keeping an open dialog with that provider for future improvements. The technologies involved in home theater design are advancing rapidly. As a general rule of thumb, if your components are 3 years old, they are likely out of date. This does not mean they need to be replaced - if its not broken, why fix it? However, if your goal is to always be on the cutting edge of home theater technology - you should add your technology integrator’s number to your “favorites” list in your phone.
Does It Have To Be Expensive?
Technically, no. But then - you must properly evaluate why you are putting in a home theater in the first place. If you are just looking at putting in a decent system to watch or listen to your favorite entertainment in isolation, you may be able to get something done on a budget. But, in no industry is the term “you get what you pay for” more accurate than custom home theater design. So, if you are trying to make an impression on clients, your boss, your dates, or your spouse’s social circle, or you want to become the go-to place for you and your friends to gather for mutual viewing - you should expect to make a reasonable commitment.
For many, the home theater is a way of projecting their success, both to treat themselves (of course), but also to “show off” a little to their friends. However, a good technology integrator can put together a system matching your goals and set up a budget adequate to achieve them. Additionally, a wide variety of financing options are available for such homes improvements.
on Wednesday, 10 January 2018.